


Another week, another apology.
Last week I made the mistake of posting my recipe on “2-minute noodles”. While I thought this would be an appropriate recipe for all audiences, I was sorely mistaken in omitting some key details, such as the construction of a microwave, instructions on opening the sachet before inserting it, and I’m sure there are countless others.
A commenter, Hayley, noted that I was so unclear as for their interpretation of the instructions to lead to them breaking the microwave into a bowl of water, which I am very sorry for, although will not pay for insurance liabilities as We Are isn’t paying me for these fantastic cooking stories (yet).
Even when I tried following the instructions, I ended up dropping the microwave on my toe and pouring the noodles into my ear – it’s clear that the instructions were complete and outright gibberish.
This time, I have taken a significantly higher regard to account for the resource availability of those in my audience.
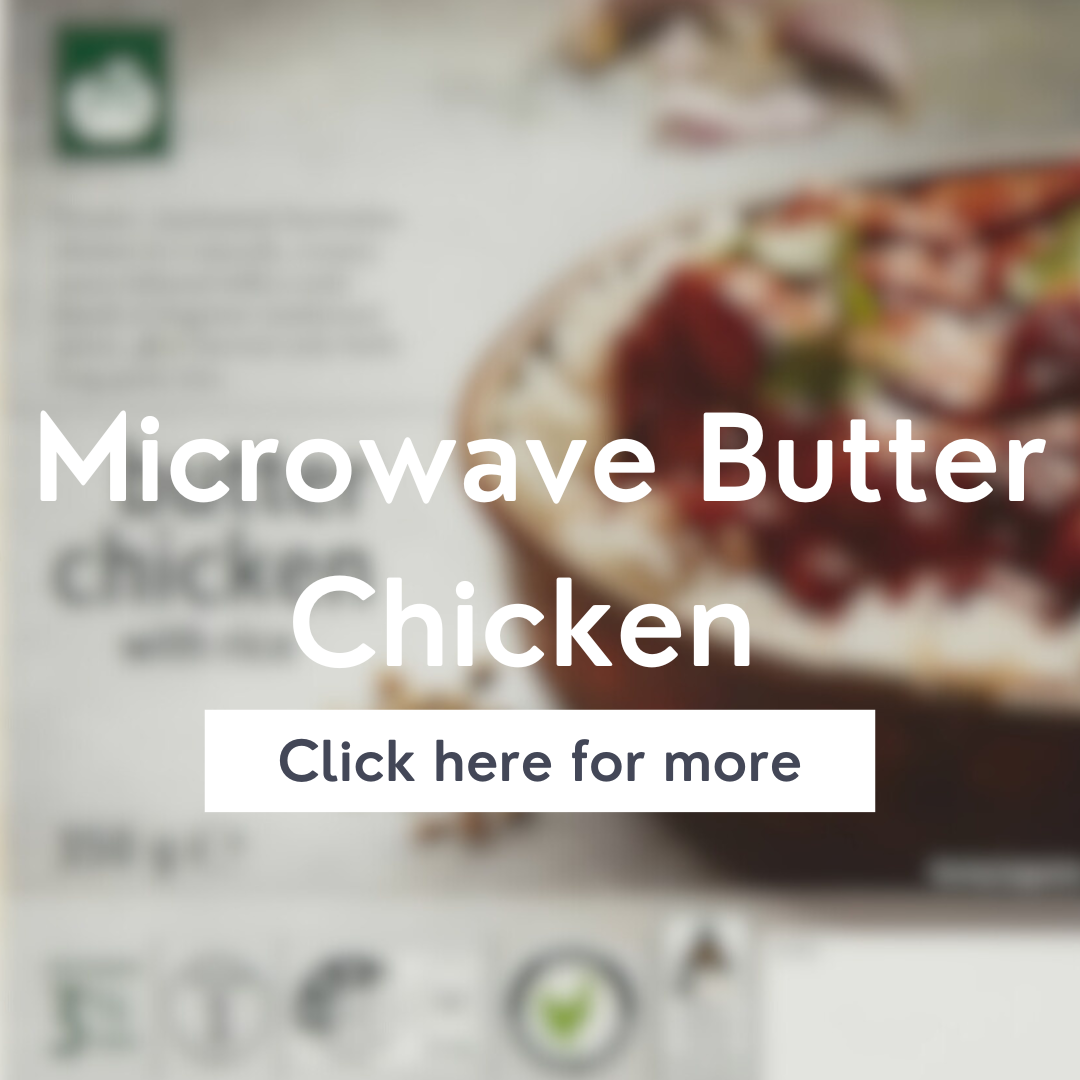
Without further ado, here is the recipe for a perfect bowl of microwaved butter chicken.
The ingredients (and materials) you will require are:
- 1 Microwave butter chicken pack (preferably from Woolworths because those ones taste nice – not sponsored)
- 1 Magnetron (the part of the microwave used to generate microwave radiation)
- 1 High voltage capacitor (this will be used to store and disperse the electrical energy in order to power the magnetron)
- 1 Transformer (gets that extra voltage to power the magnetron)
- 1 Waveguide (directs the microwave radiation into the cooking chamber instead of around your kitchen)
- 1 set of Control circuitry (the whole shebang – switches, microcontrollers and displays so that you can use your microwave)
- 1 Cooking chamber (the shell of the microwave where your food gets cooked)
Instructions:
- Magnetron installation:
- Connect the magnetron to the cooking chamber.
- Connect the heating element and the negative terminal of the magnetron to appropriate power sources.
- Connect the negative terminal of the magnetron to the high voltage capacitor.
- Power supply and control circuitry:
- Using your background knowledge of software and electrical engineering, design a circuit to supply power, making sure to include the high voltage transformer and the capacitor.
- Integrate the control circuitry to manage the power supply to the magnetron through a simple user interface.
- Add some safety features (optional)
- Waveguide and cooking chamber:
- Connect the waveguide to the output of the magnetron.
- Construct the cooking chamber with a microwave-safe metal enclosure (or it doesn’t have to be microwave safe, who am I to tell you what to do).
With this, your microwave should be ready to cook some food. Albeit uncertified, untested, and certainly unsafe, if you’ve made it this far through the instructions then we’re ready to get cooking!
- Butter chicken cooking
- Follow the cooking instructions on the butter chicken packet.
And there you have it folks! Another flawless recipe on a timeless meal. Be sure to post your comments to let us know how your experience went!
Until next time.

Hayley • Aug 17, 2023 at 6:05 pm
This recipe was much clearer than the last one, thank you very much! Step four was very confusing though, so Woolworths should revise their instructions.
Daniel • Aug 17, 2023 at 9:43 am
This is an absolutely woeful article. After successfully constructing said microwave, it is rather unclear as to how to follow the cooking instructions on the packet. Turns out microwaving my laptop is not recommended. Side effects include: destroying hard drive data, burning down the house, but worst of all killing the microwave. I also never got that butter chicken. Please try harder next time 🙂
Dimitiri • Aug 16, 2023 at 8:53 am
Thanks for this excellent recipe. It’s much clearer than last weeks confusing one. Thanks to you I finally have a microwave!
Step 4 is still a bit confusing though.
Patrick • Aug 16, 2023 at 8:17 am
Thanks for the great recipe! However, the instructions became a little hard to follow at the end after the construction of the microwave, and I accidentally froze my already heated butter chicken. Oops!